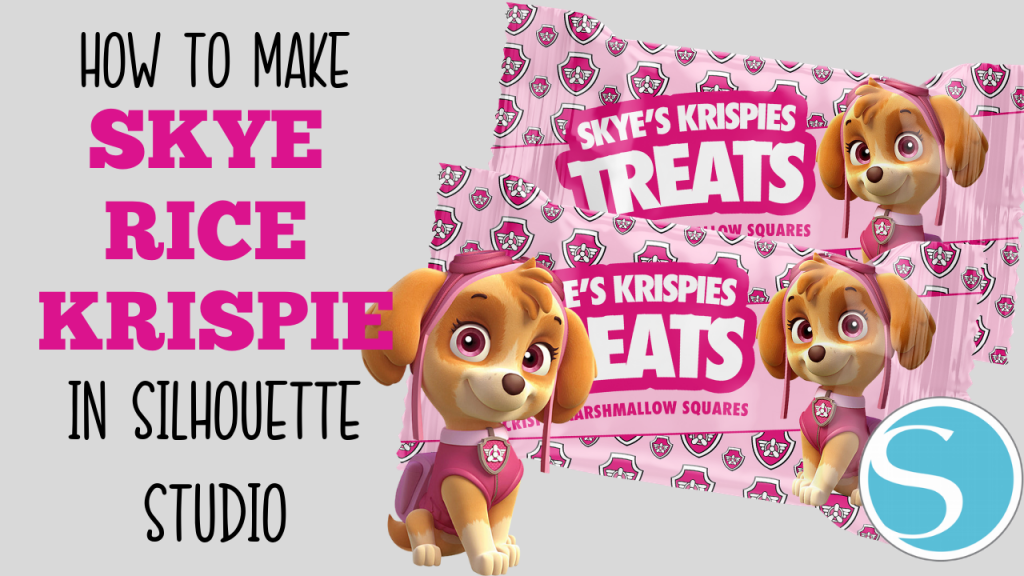
Rice Krispie Treats with Silhouette Studio
This post contains affiliate links. For more information, see my disclosures here
One questions I get asked all the time is how can I make my own custom Rice Krispie Treats with Silhouette Studio at home?
And in today’s tutorial, I am going to show you how with my favorite DIY crafting software, my Silhouette Studio. If you aren’t familiar with the Silhouette Studio, it’s an electronic cutting machine that gives you the freedom to create any DIY projects you can think of. I love my Silhouette Studio and all the different things that I can do with it. Especially party decorations for my kids birthdays.
Silhouette Studio software is free for all to download, but most people don’t really know how to actually use it and where to get started. So, today I thought I would get a little techy, and do a step by step tutorial about making Rice Krispie Treats. Then, I’ll show you how to assemble them so you can use and make these for all your parties.
Materials you will need
GETTING STARTED….
Installation
1. Navigate to silhouetteamerica.com
- Navigate to silhouetteamercia.com
- Click the blue “Update Software” button at the top of the screen
- Under “Silhouette Studio” click the download link. Ensure you choose the correct one depending on your operating system (Windows or MAC).
FOR WINDOWS:
Proceed through the installation process by following the on-screen prompts. If the installation window does not automatically appear, browse to the download in My Computer and double-click the setup.exe program to run it. If a “New Hardware Found” dialog box appears, follow the recommended instructions to accept your system’s installation of the Silhouette driver.
FOR MAC:
Drag and drop the Silhouette Studio application icon into the applications folder to install Silhouette Studio.
Opening the Silhouette Studio Software
Locate the Silhouette Studio icon on the desktop, or in the Start Menu on your PC (in the Applications folder on a Mac).
Double-click the icon to run the application.

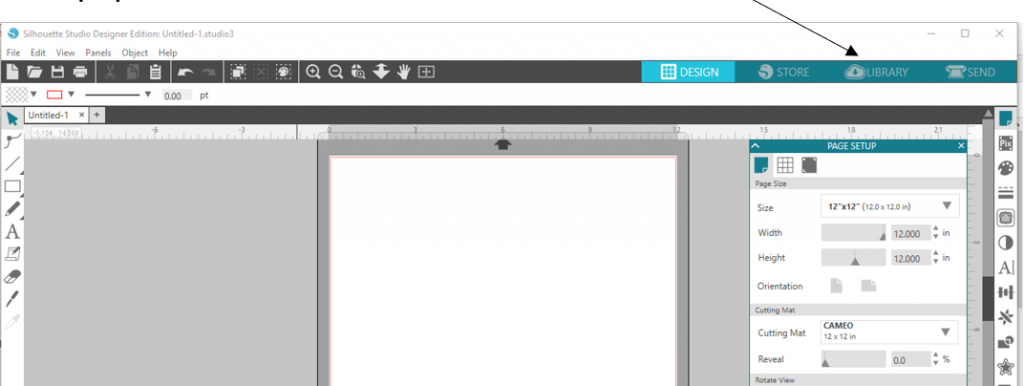
Once Silhouette Studio has loaded, you will notice a blank 12” x 12” page on your screen.

Changing Page size & Orientation
If you would like to change the page dimensions or orientation, you will find the page setup options already opened in a separate tab on the right-hand side of the screen.
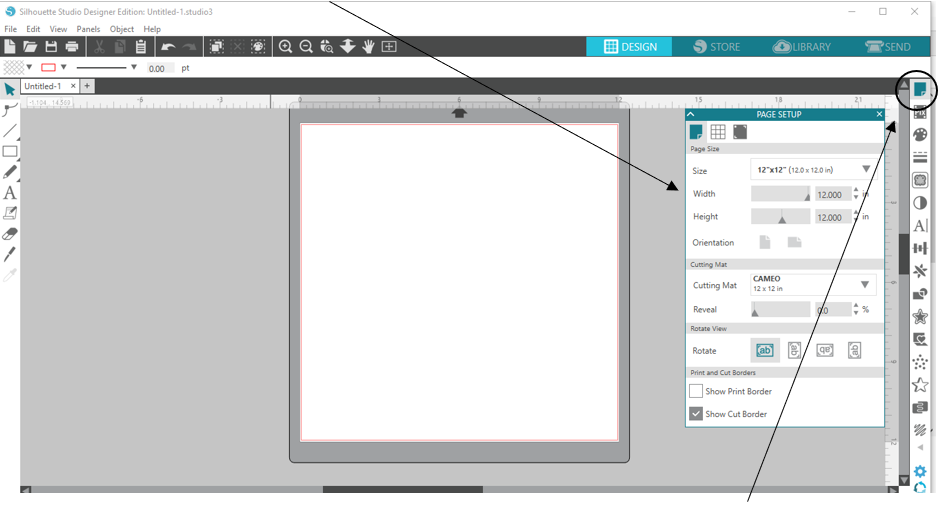
To access these page setup options in the future, click the Page Setup icon in the options toolbar in the upper right-hand corner of your screen.
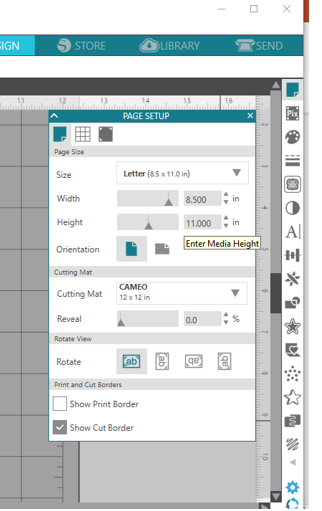
Set your page settings to “Letter Size” (US members) or “A4 size” (Australia). We will be using this size as an example. Welcome to print and cut 12″12″ if you have that size printer.
Important Clipart / Wallpaper & Templates
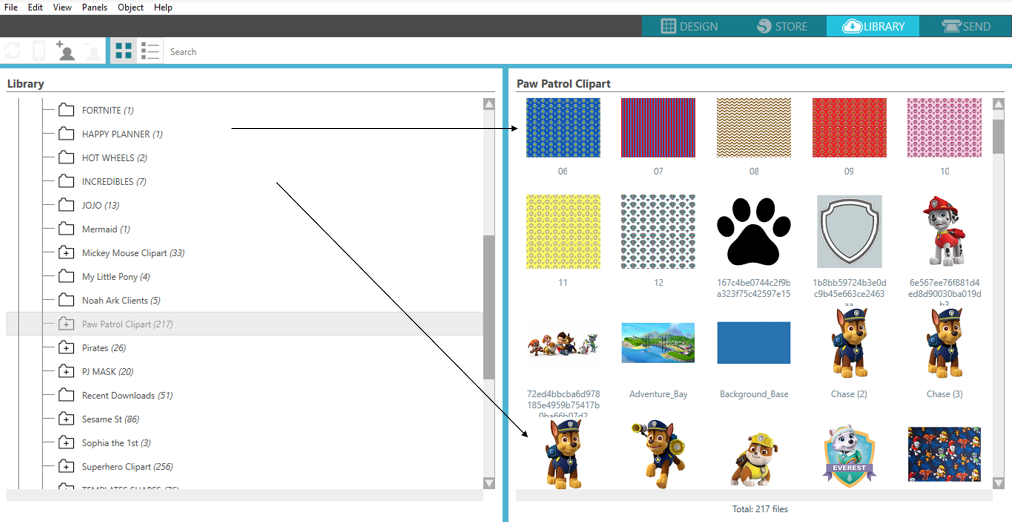
Click the Library button to view where all your cliparts & wallpaper will be stored.
You can organize your designs within Library for your convenience by creating new folders for your designs and themes. E.g Paw Patrol Theme
Once clicked inside the Library, right click the Library button in the left side toolbar, then type a name for your new folder.
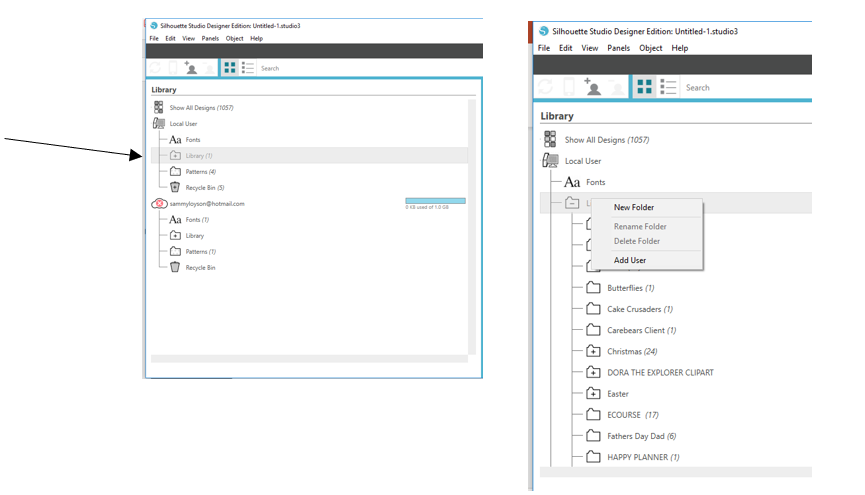
Drag any design (clipart, wallpaper or templates) from your computer into your newly created folder (in the folders panel on the left).
Making Rice Krispie Treats
- Hover over the Drawing Tool (rectangle shape) and select the rectangle shape & drag your shape into a rectangle
- Click the “select” tool – turns the courser back on
- Select the rectangle shape (highlight the shape)
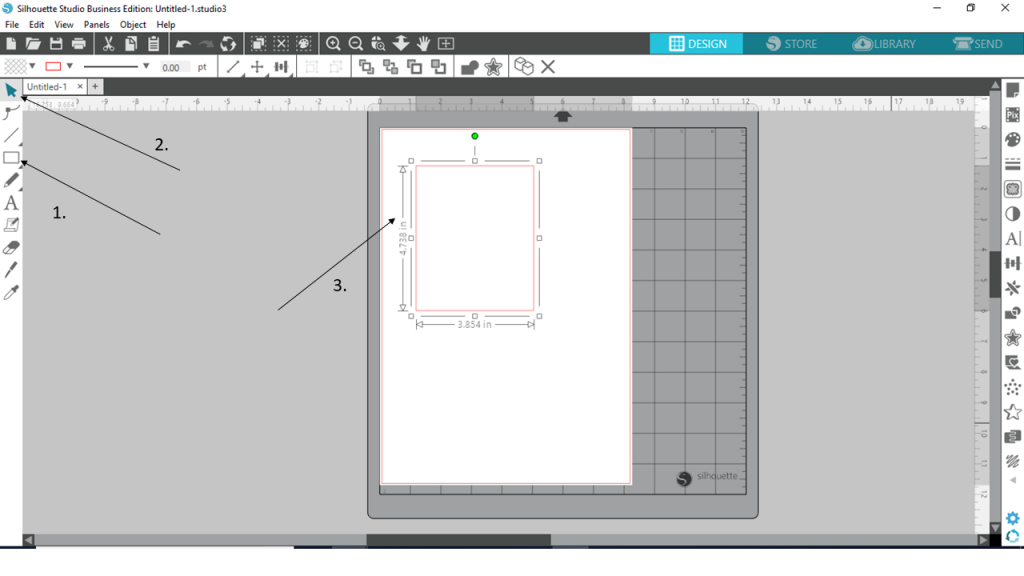
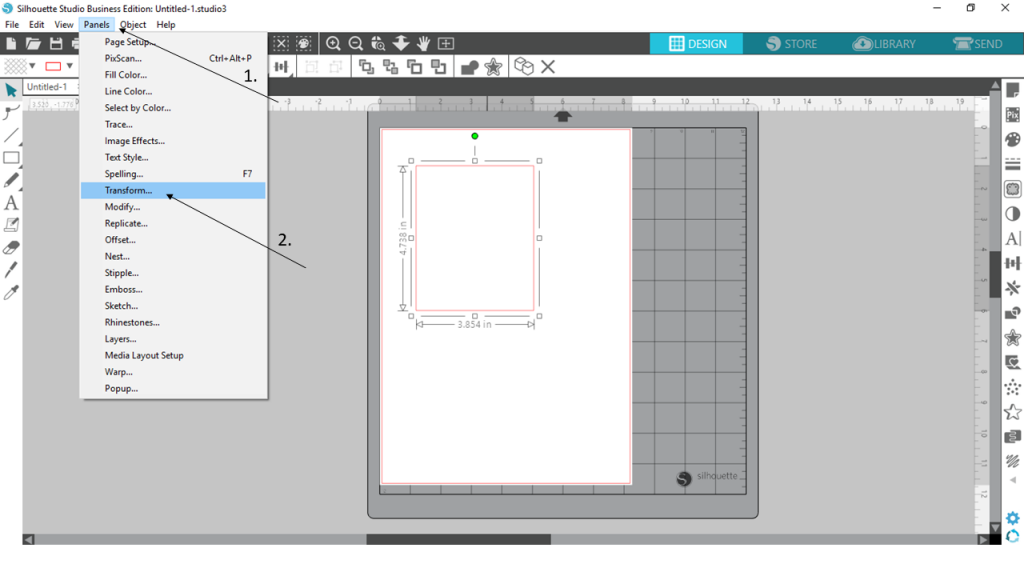
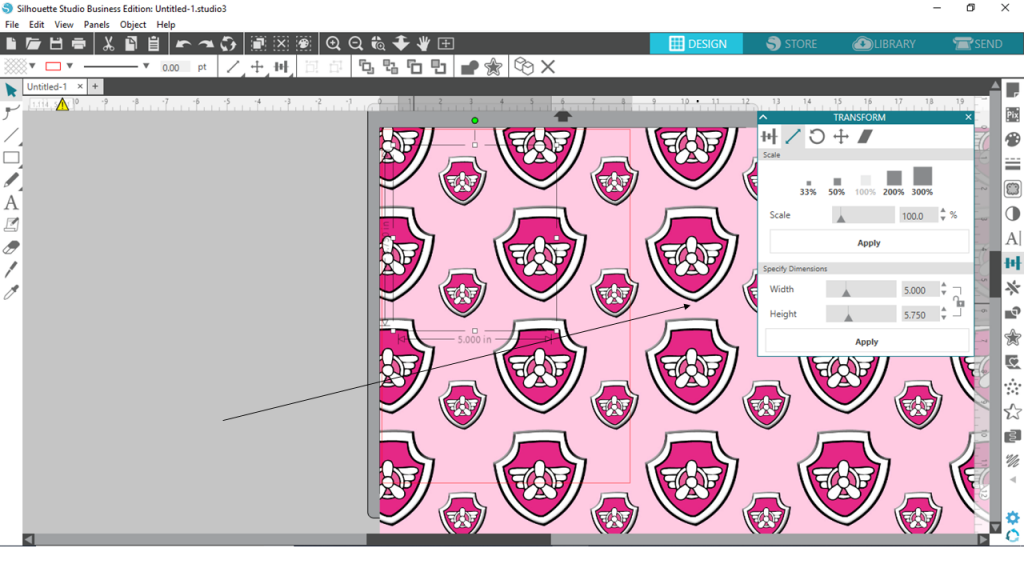
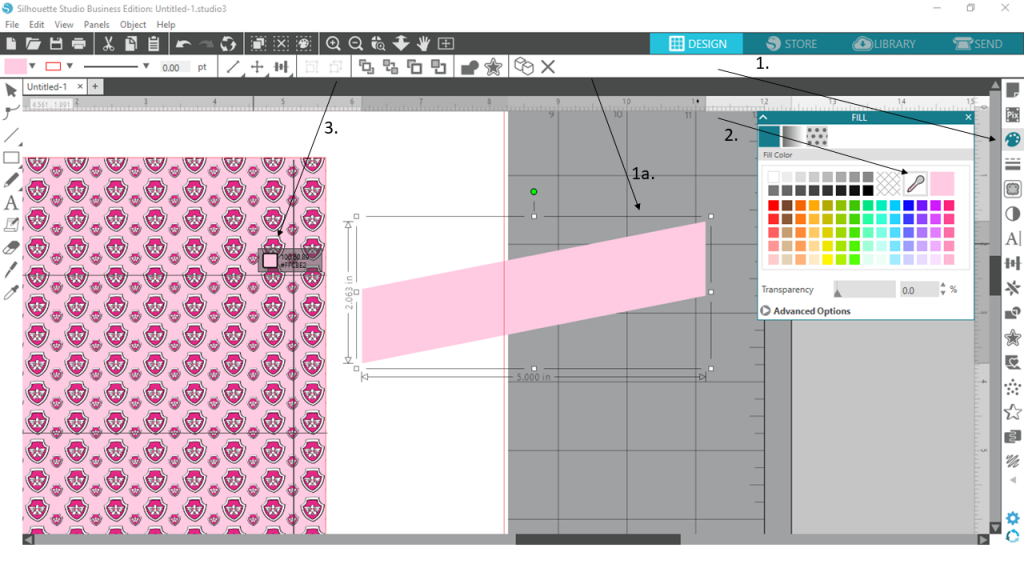
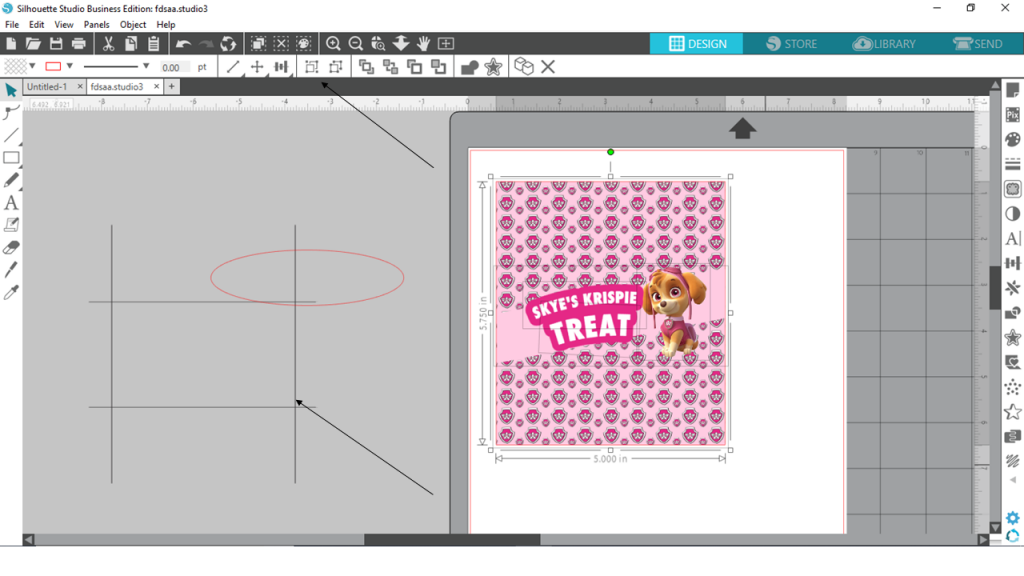
To make it alot easier with making the perfect dimension rectangle (5000 x 5750), Panel – Transform. Make sure your rectangle is highlighted
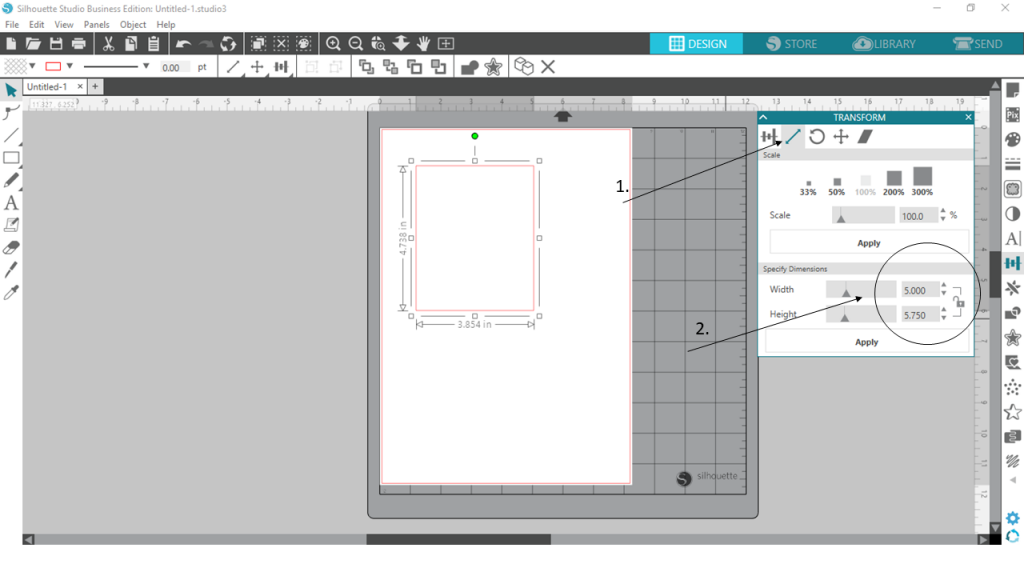
- Click scale
- Amend width to 5.000 / height to 5.750
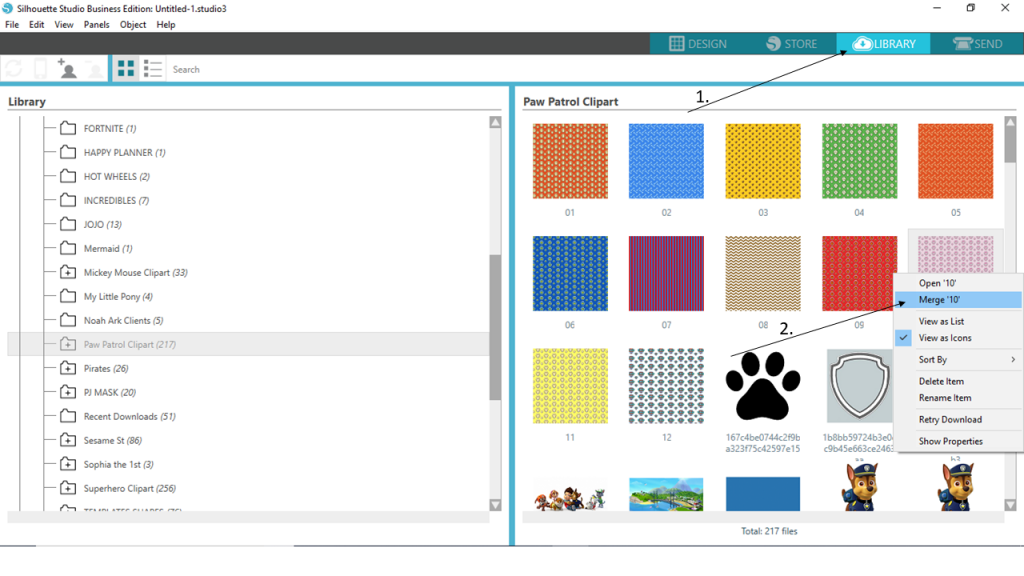
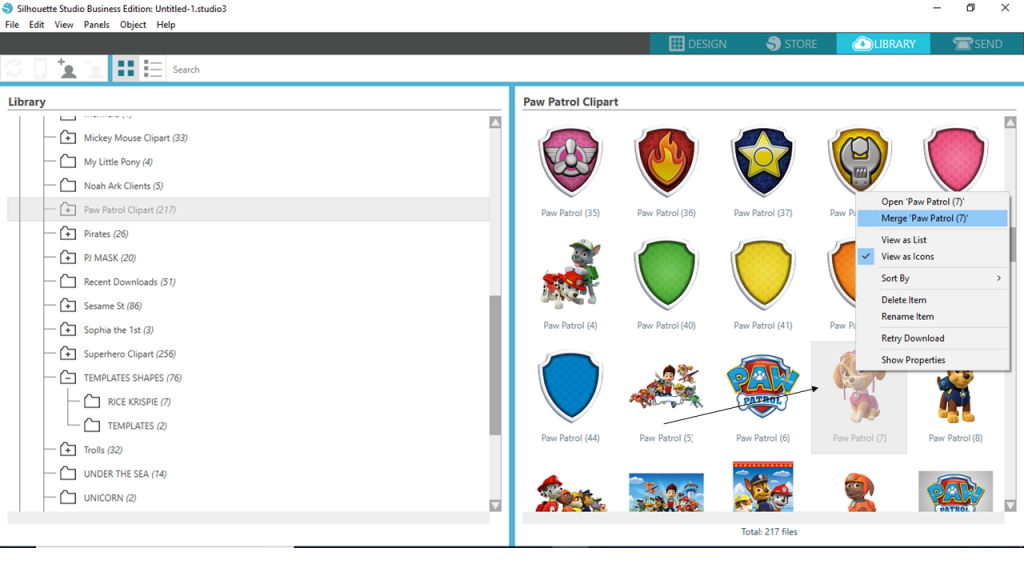
Keep your rectangle highlighted – 1. click Library
2. Select your digital paper that you will be using / right click and click “Merge 10”
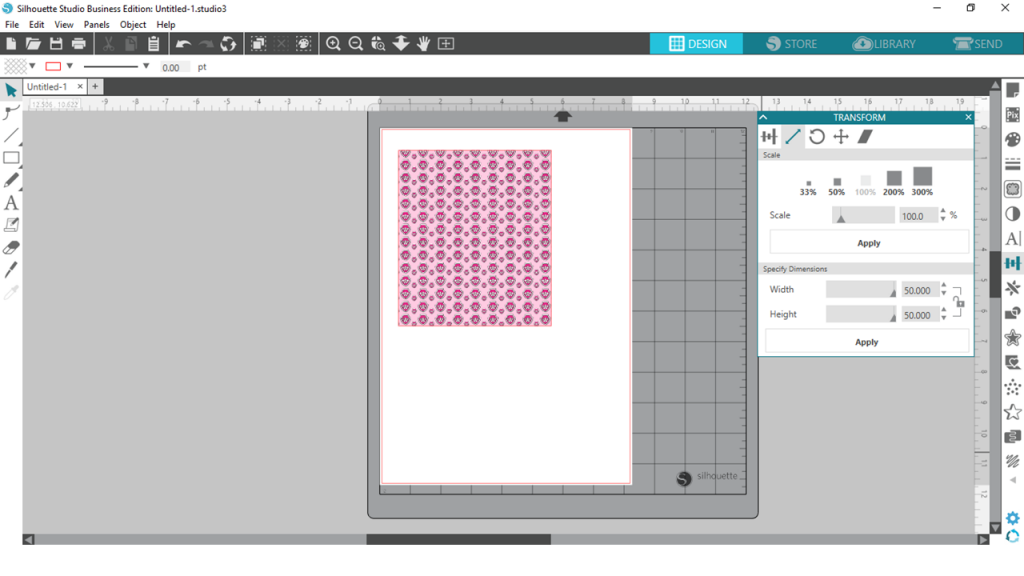
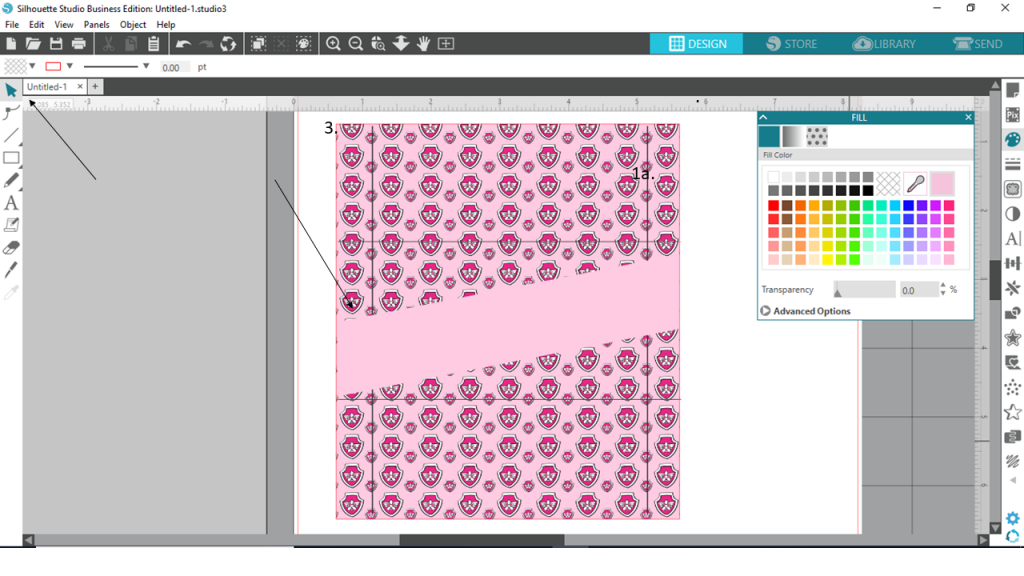
After “Merging” – the digital paper will be embedded on the rectange, but you will also have to “delete” the digital paper on top. (as per the picture below)
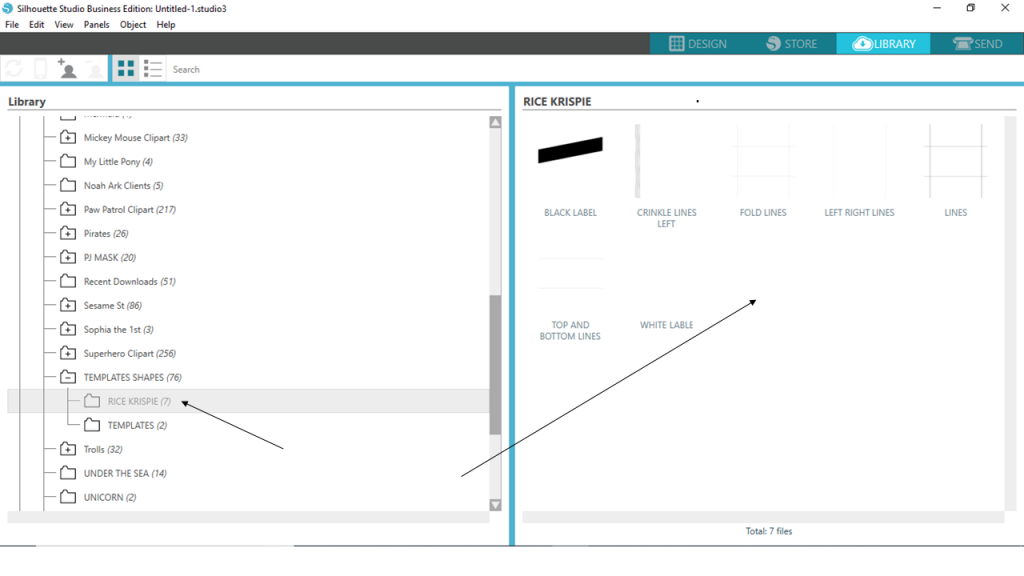
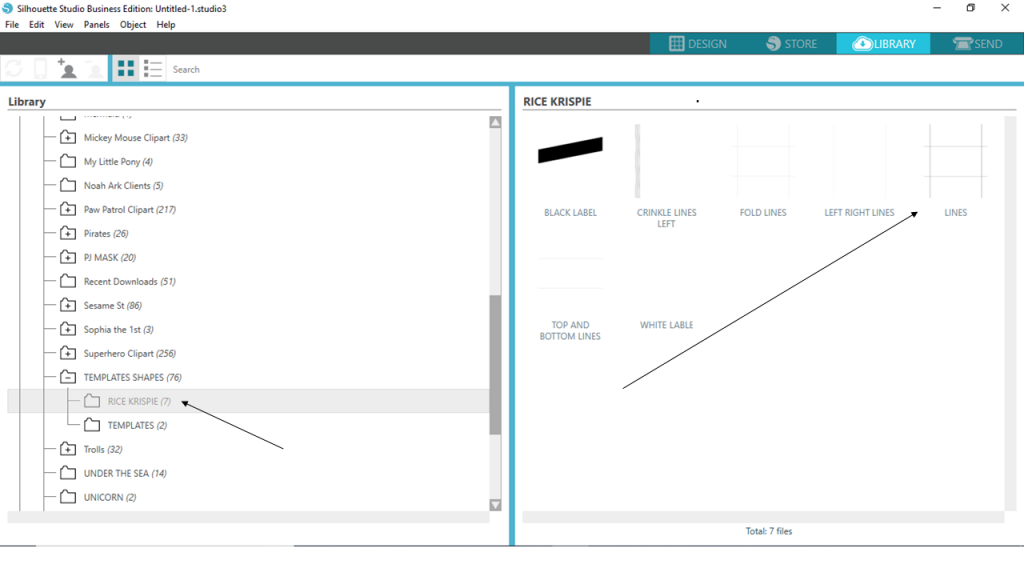
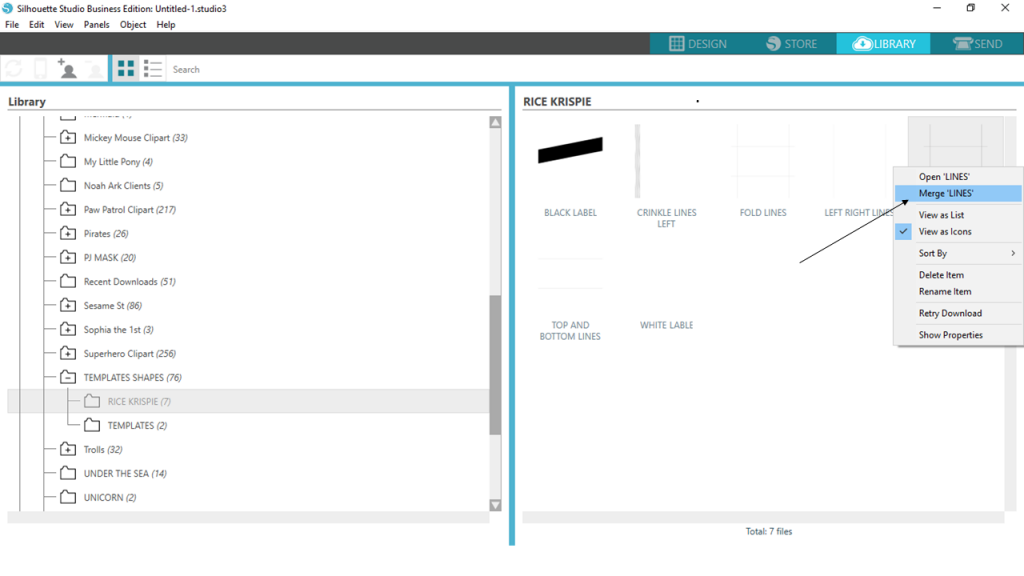
Click Library
Find your rice krispie template “lines” – right click “merge lines”
Then go to Library – click on your black label, merge label
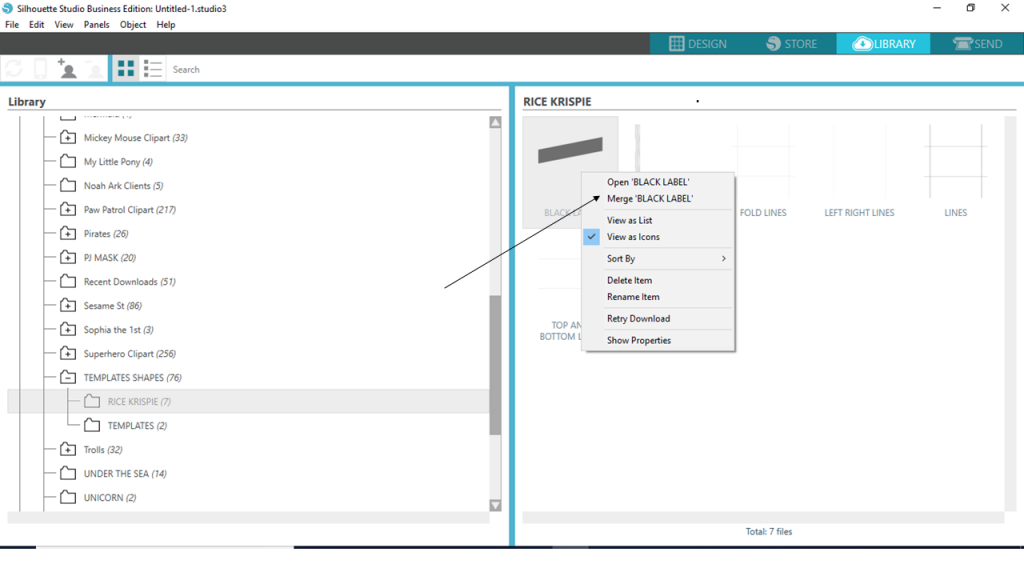
You can now change the label to any colour that you what but first you need to remove the transparent box around the label
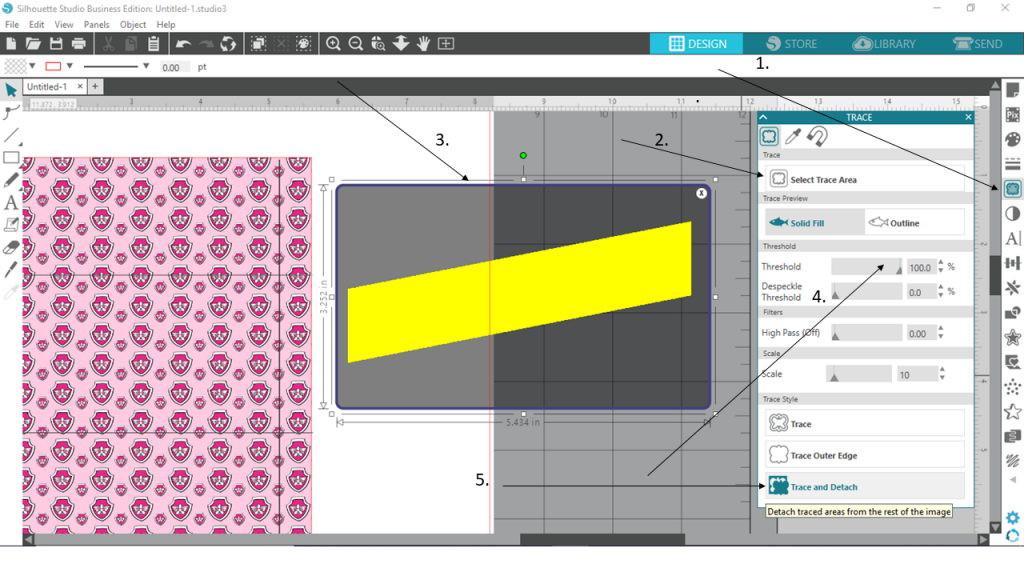
- click on Trace Panel
- Select Trace Area
- Highlight the entire label – make sure it is all in yellow
- Change the threshold to what ever % you need for it to cover the entire label without it looking pixelated – Mine I placed it at 100%
We can now change the colour to what ever colour you want
- Make sure your label is highlighted / click on fill panel
- Select your dropper tool
- Hover over the colour you want and click – your label will change to the colour you have selected with your dropper tool
Click your select tool – for the curer button to appear
Drag your label to the correct position
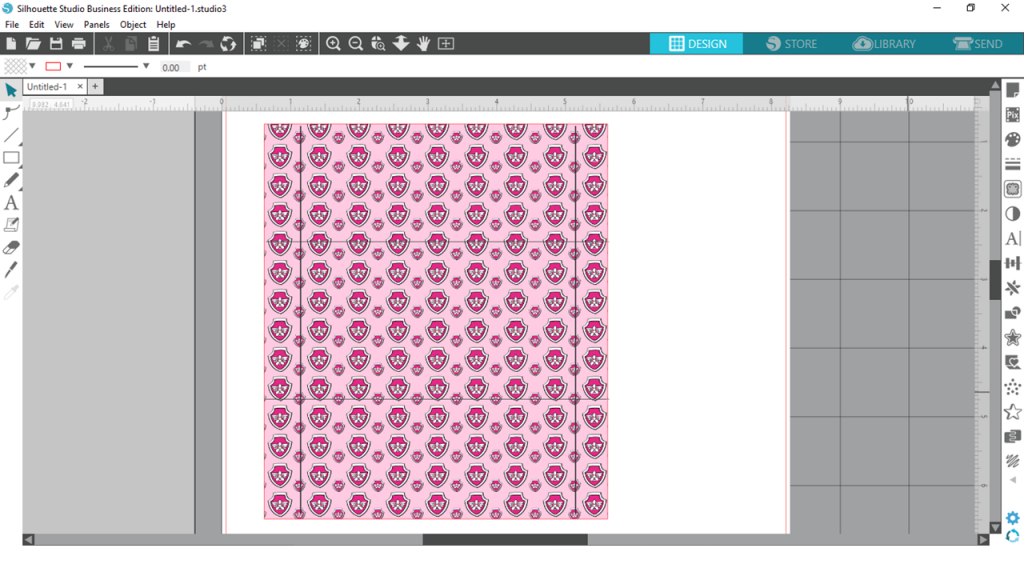
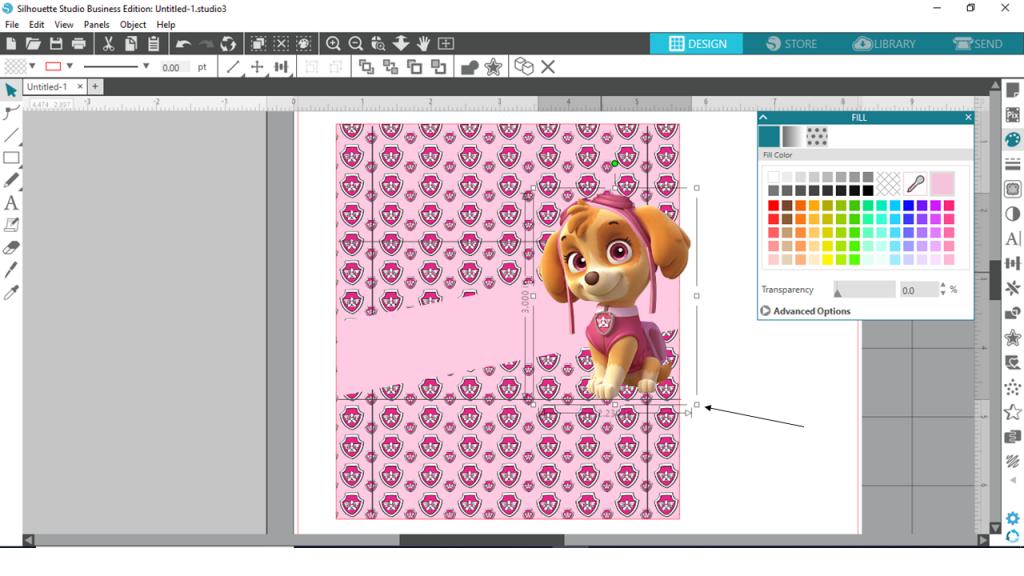
Merge your clipart that you want on your rice krispie treats
Drag your image in from the square inwards to make it smaller
Enter your font
Select the text tool – search for your font (Futura Condensed Extra)
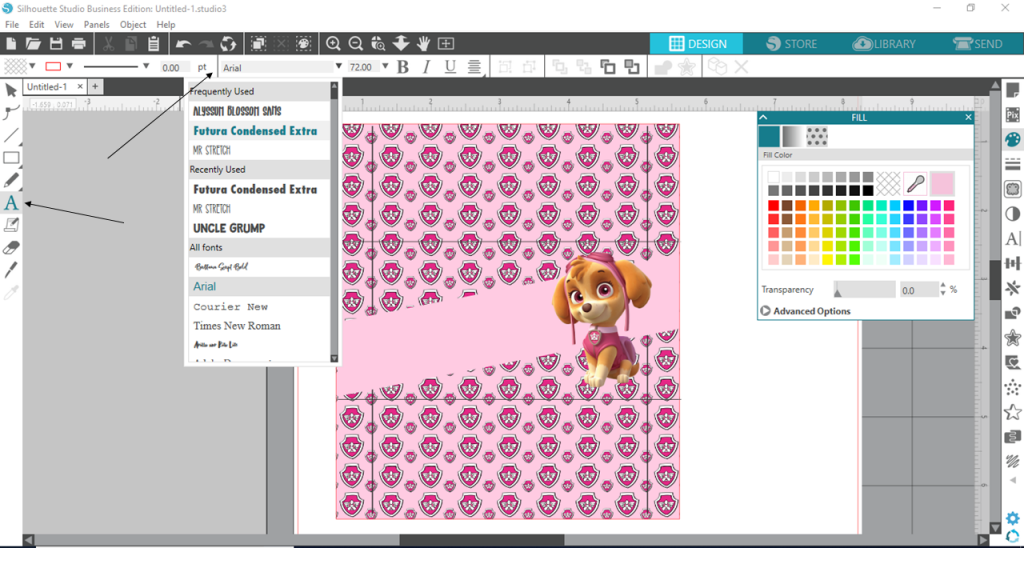
Enter your wording “Skye’s Krispie” or your child’s name (Please note it is meant to be in capital letters but I only realized at the end when I had to do it again 🙂
Right click on the square tool – select oval shap
Draw your oval shape
Double click on your font – a green box will appear over the wording
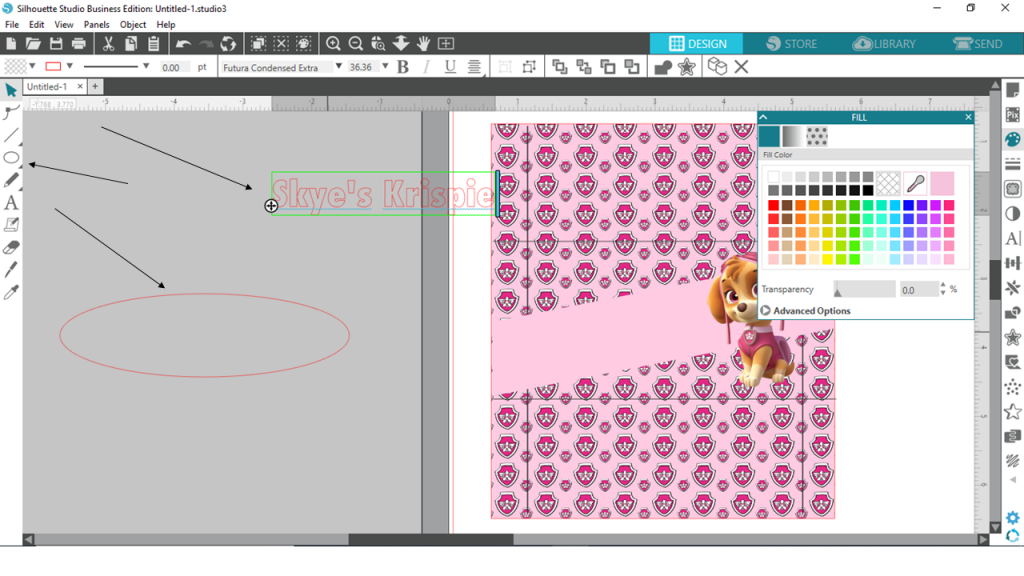
Click and drag the font (by the circle on the bottom left corner) to the oval and the font will automatically attach itself to the oval – this will help create its curve effect
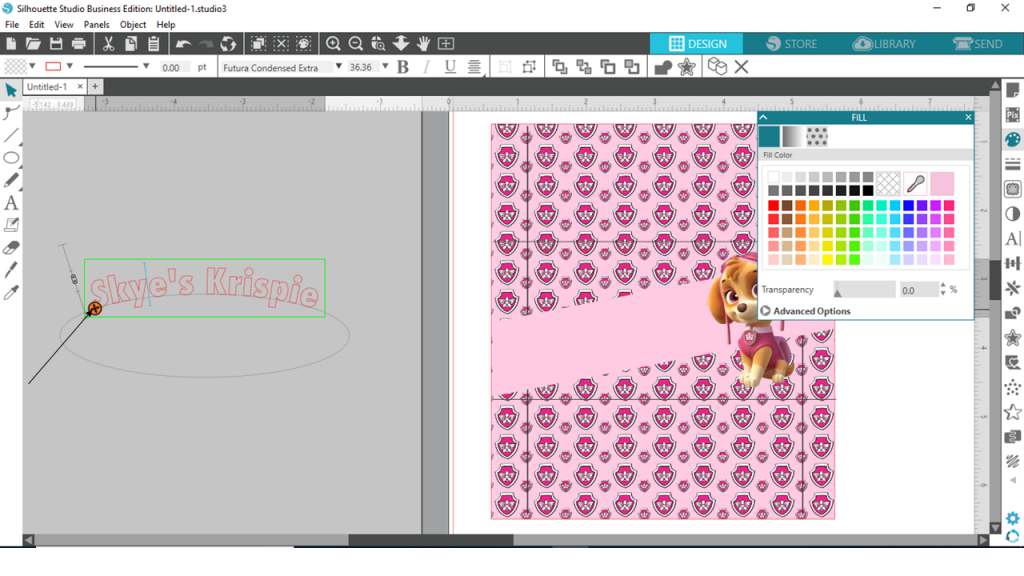
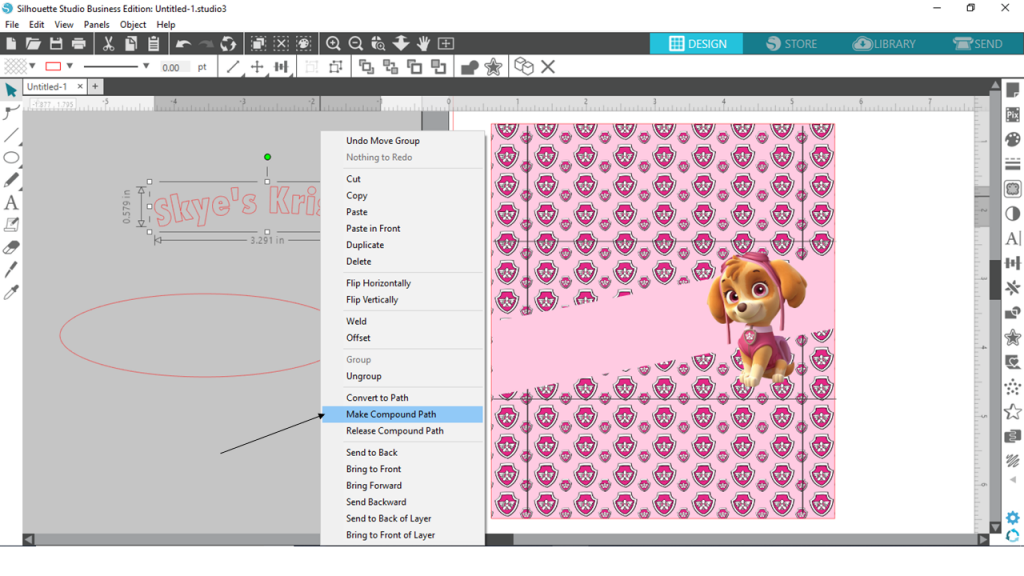
To release it from the oval – right click and click release compound path
Drag the font away from the oval
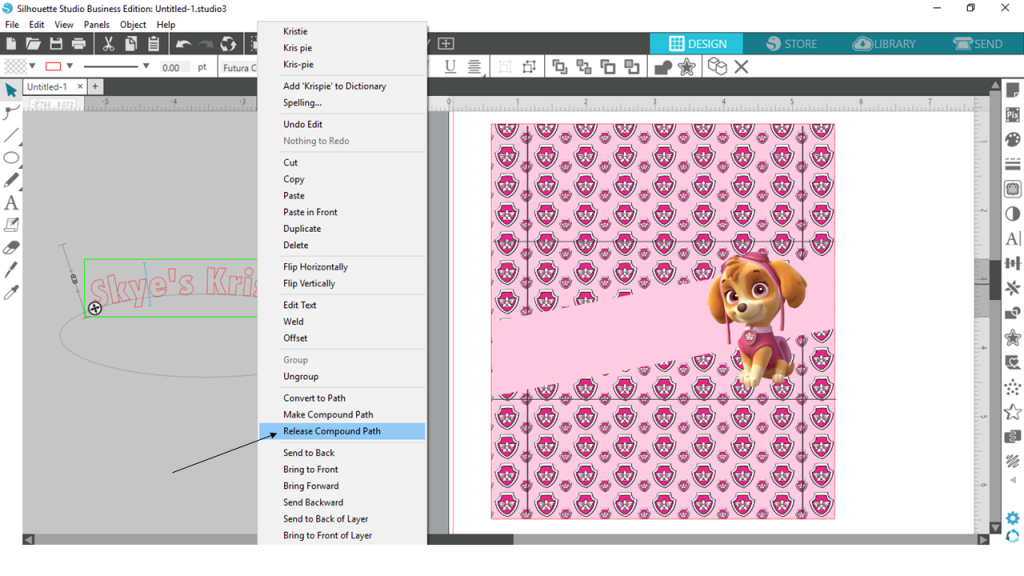
Right click and select make compound path – if you don’t make a compound Path, you will loose some of your font when you fill it in with colour
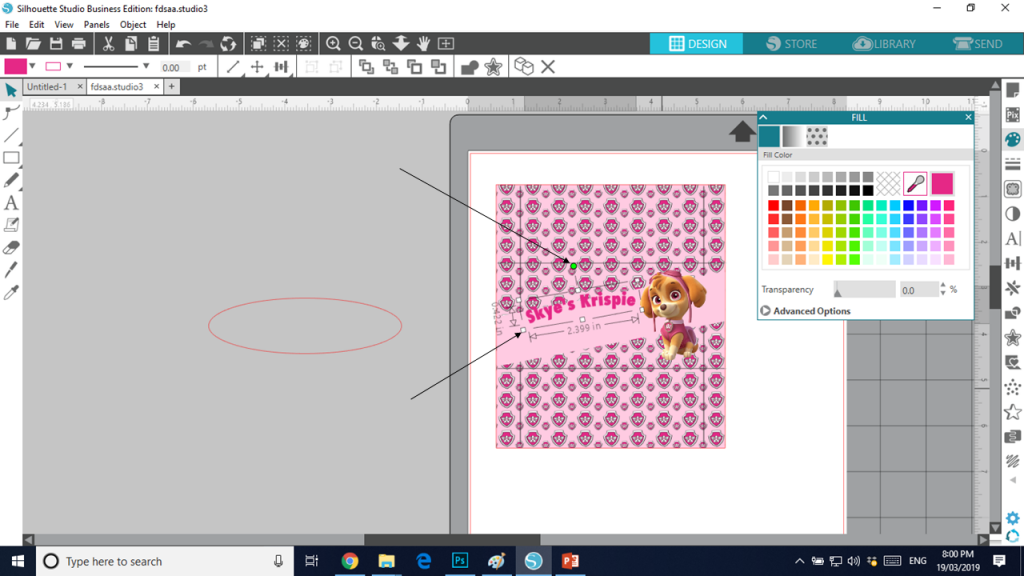
Now we are going to fill the font with colour
Click the fill button and select the colour you want – you can use the picker tool / dropper tool to select a colour to match if you want

Ok we now drag our text to where we would like it to be – you can rotate it by click and hold the green circle and then reduce the size of the text but clicking the white box and dragging it in
Now we are going to do a offset around the text – click the offset button on the top of your tool bar – change the distance to what ever you feel is right. I normally do between 0.080 – 0.100 – then hit apply
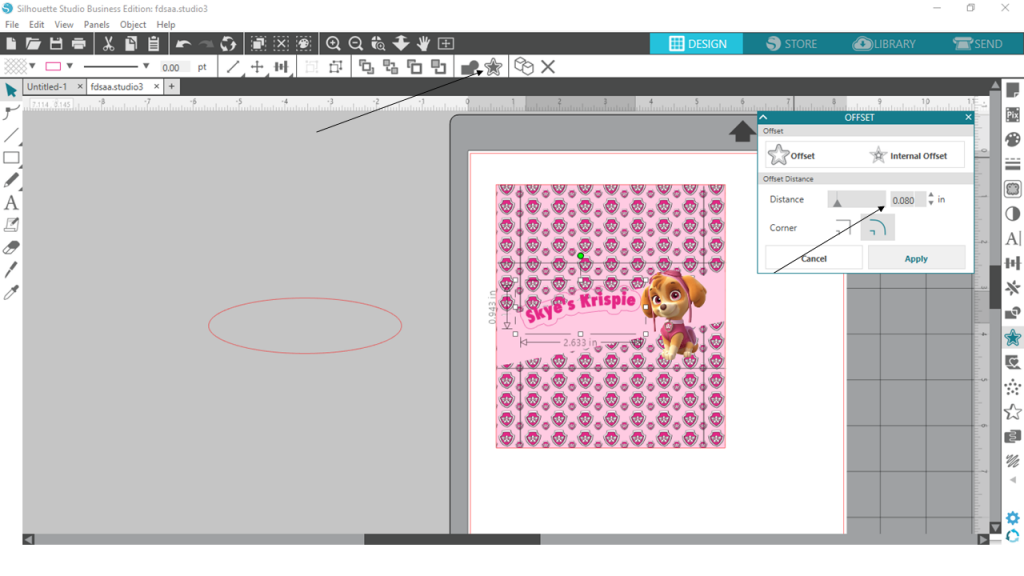
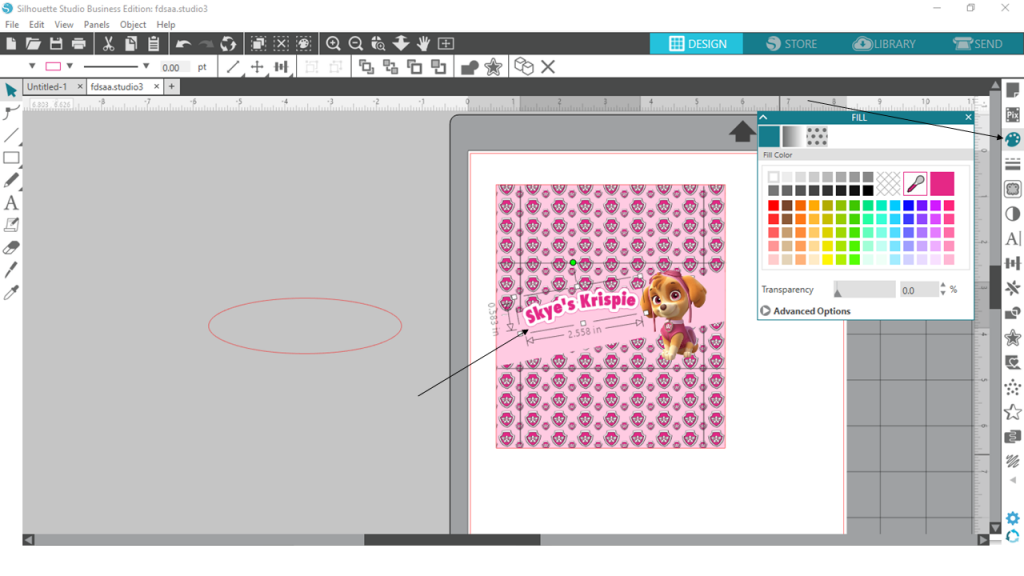
Keep your offset select and fill in the colour
I ended up switching the colours around
Then do the exact same for your TREAT wording
Once finished – drag the “lines template” away and highlight all of your layers and click the group tool. This will combined all your layers together
You can rotate your template by selecting it and clicking on the green circle
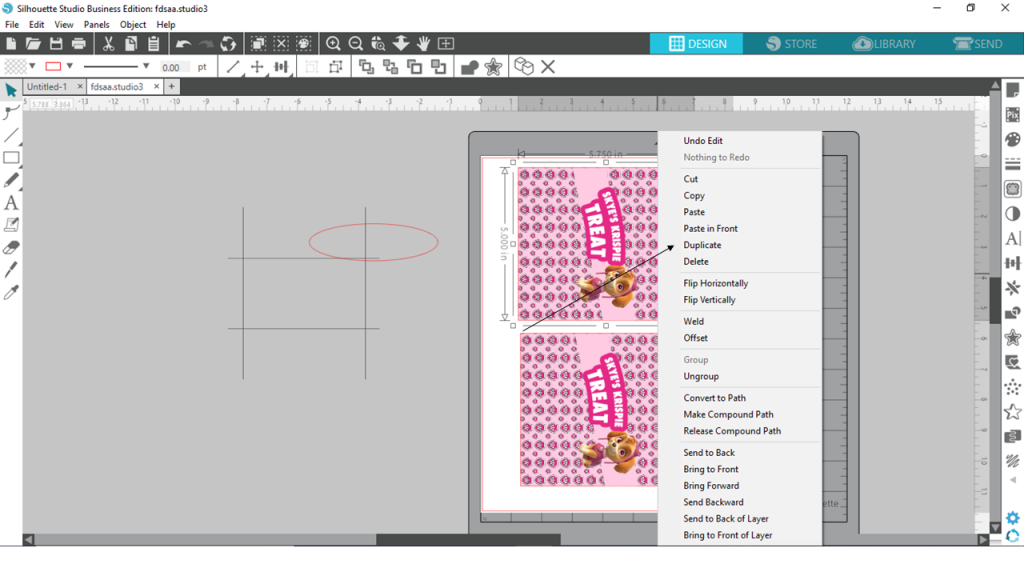
To duplicate, right click and select Duplicate
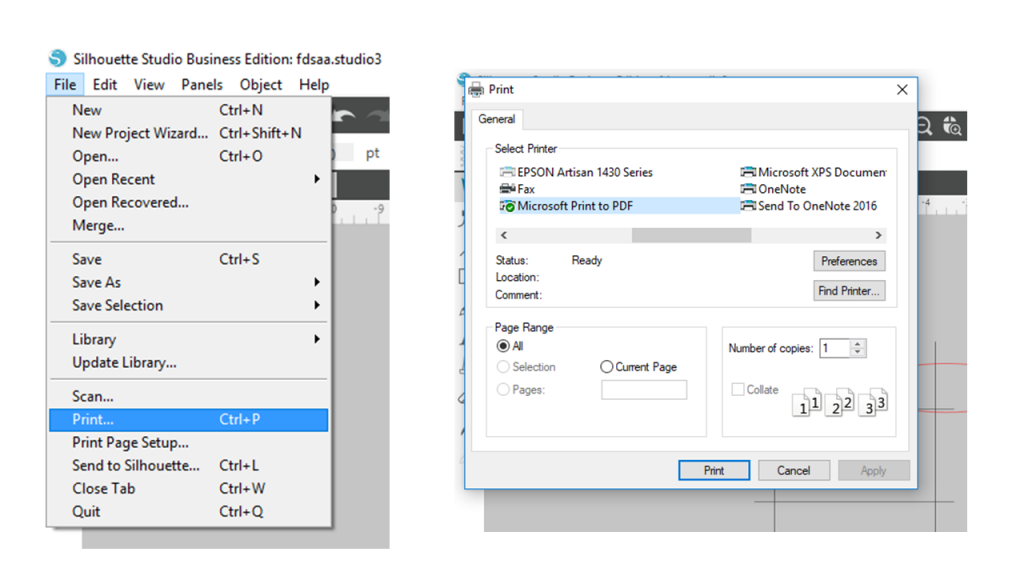
If you don’t have a cutting machine you can just go ahead and print out your template and cut by hand
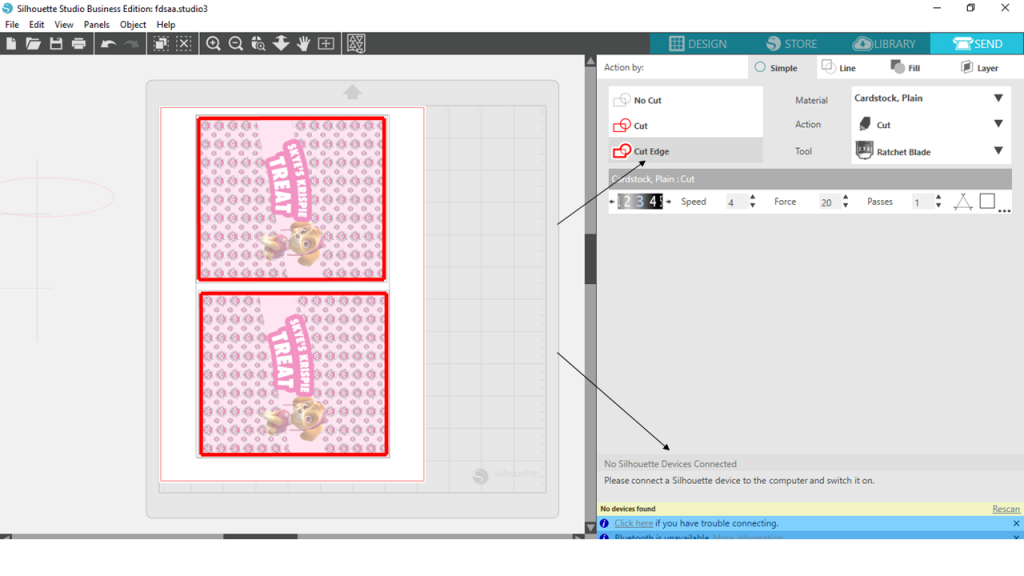
Once you have printed out your template and loaded them into your cutting machine – highlight your template and click SEND (remember to place your paper exactly on the cutting mat like you see it on the screen
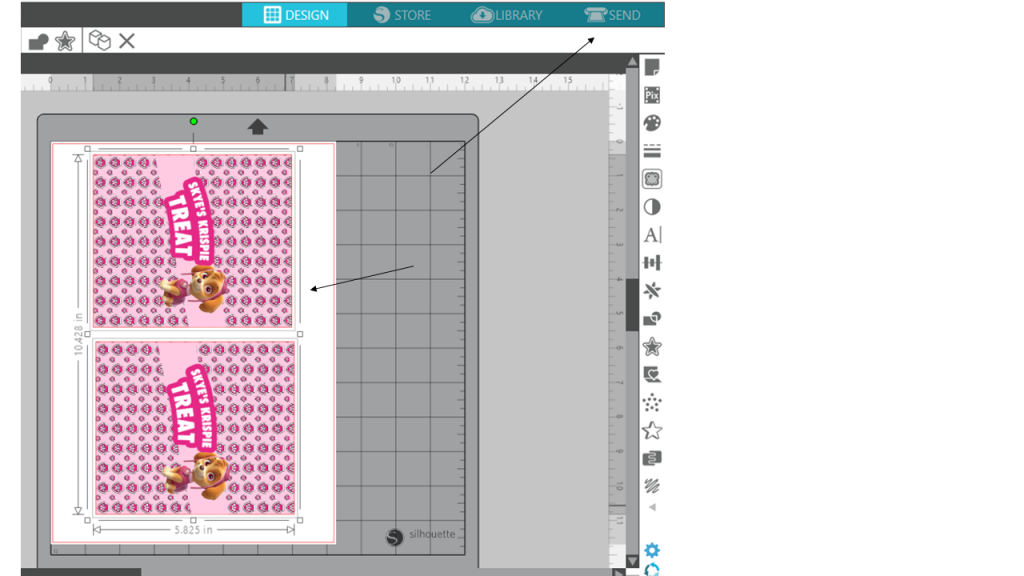
Select “cut edge” – make sure all your settings are correct and then send to your machine (mine machine isn’t connected in the photo)
That my friend is how you make a custom rice krispie treat in Silhouette Studio.
I hope you really this tutorial useful and will give it ago yourself
Comment below if you have any questions